Why I Started Using This Tool
After mapping out every peripheral on the DE10-Nano in the last post, I figured flashing the board and booting it would be the quick, "five minute" episode before the real projects start. It wasn't — and not for the reason I expected. I went to Terasic's download page assuming the newest-dated file would be the image to grab. It turned out to be a documentation and reference-design bundle, not an OS image at all. I wanted to write up what I actually found — including where the real flashable image lives — so nobody following this series wastes time flashing the wrong thing.
What It Does
Terasic's DE10-Nano download page splits into a few pieces: per-hardware-revision "System CD" zips
(Datasheet, Demonstration, Manual, and Tools folders — including the actual GHRD reference design as
Quartus source code), and separate image folders like AngstromImage,
AzureImage, and linux_BSP. The real ready-to-flash Linux image — a single
file built back in 2017 — lives in AngstromImage. It contains everything needed to boot:
a FAT partition with the preloader, U-Boot, the Linux kernel, a device tree, and the compiled FPGA
configuration file, plus an ext3 partition with the actual Angstrom Linux root filesystem. Flash it
with a tool like balenaEtcher, boot it over a serial console, and you land on a working Linux system
with an onboard demo that can sweep LEDs, read switches, and pull ADC readings — proof that hardware
and software are already talking to each other before you've written a single line of your own code.
Where to Actually Download It
The bootable image lives in Terasic's AngstromImage download folder, not in any of the
System CD zips:
- Directory: download.terasic.com/downloads/cd-rom/de10-nano/AngstromImage/
-
The image itself:
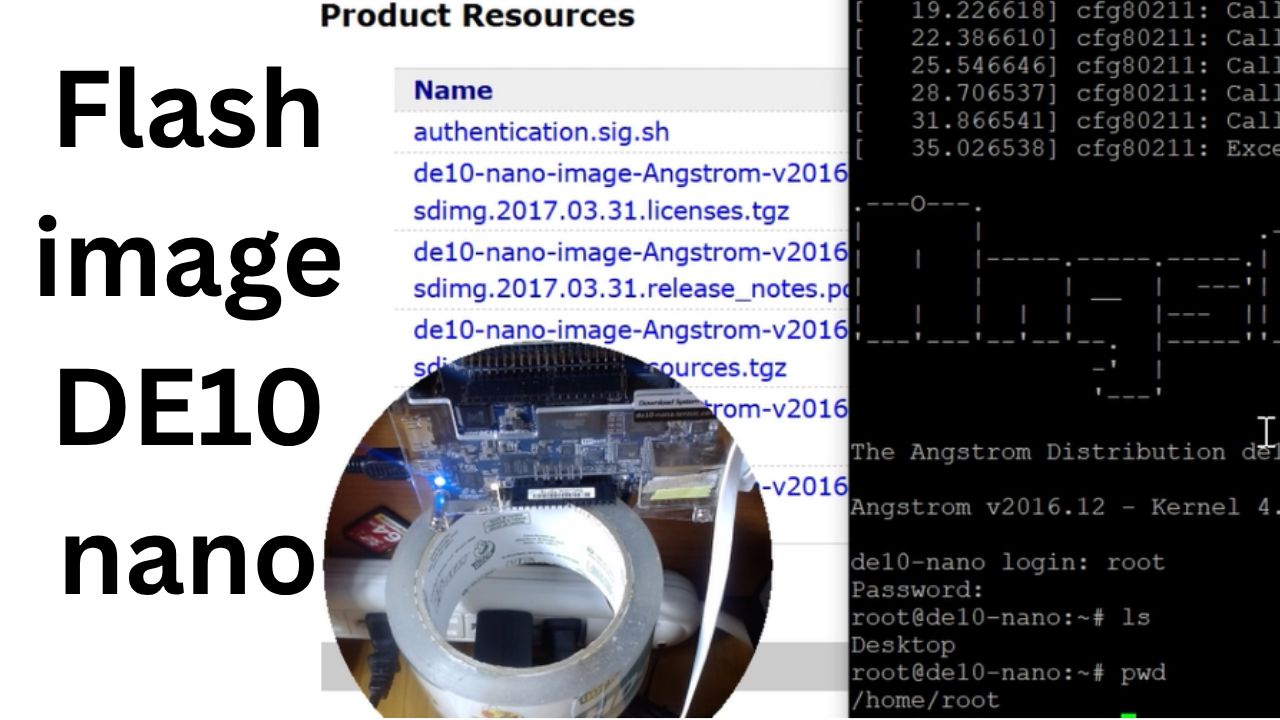
de10-nano-image-Angstrom-v2016.12.socfpga-sdimg.2017.03.31.tgz(~295 MB) — Intel also mirrors it as a DE10-Nano kit download. ...release_notes.pdf— worth skimming before you flash....sources.tgz(~1.7 GB) and...licenses.tgz— the full Yocto build sources; you don't need these just to boot.
Extract the .tgz to get a single .img, then write it to an 8 GB+ Micro
SD card with balenaEtcher (or dd). Set the board's MSEL DIP switches to
the SD-card boot mode from the User Manual, plug a USB cable into the UART-to-USB
port, and open a serial terminal at 115200 8N1.
Example Boot Output
Power on, and the preloader → U-Boot → kernel chain scrolls past, ending at the Angstrom banner and a login prompt:
U-Boot SPL 2013.01.01 (Mar 31 2017 - 12:57:56)
BOARD : Altera SOCFPGA Cyclone V Board
...
U-Boot 2013.01.01 (Mar 31 2017 - 12:58:03)

CPU   : Altera SOCFPGA Platform
BOARD : Altera SOCFPGA Cyclone V Board
...
Starting kernel ...

[    0.000000] Booting Linux on physical CPU 0x0
[    0.000000] Linux version 4.1.33-ltsi-altera (...)

 .---O---.
 |       |                  .-.           o o
 |   |   |-----.-----.-----.| |   .----..-----.-----.
 |       |     | __  |  ---'| '--.|  .-'|     |     |
 |   |   |  |  |     |---  ||  --'|  |  |  '  | | | |
 '---'---'--'--'--.  |-----''----''--'  '-----'-'-'-'
                 -'  |
                 '---'

The Angstrom Distribution de10-nano ttyS0

Angstrom v2016.12 - Kernel 4.1.33-ltsi-altera

de10-nano login: root
Password:
root@de10-nano:~# ls
Desktop
root@de10-nano:~# pwd
/home/root
root@de10-nano:~# uname -a
Linux de10-nano 4.1.33-ltsi-altera #1 SMP Fri Mar 31 ... armv7l GNU/Linux
The root account has no password by default — just press Enter. From here the FPGA is
already configured from the image's .rbf file, so the onboard demo (reachable at
http://de10-nano.local/ once Ethernet is up) can sweep the LEDs, read the slide
switches, and stream ADC channels without any code of your own.
Final Verdict
This ended up being a more useful episode than "flash the SD card" usually is, precisely because I
got it wrong on the first try. It's tempting to assume the newest file on a vendor's download page is
the one you want — this board taught me that's not always true, and that it pays to actually open a
download and check what's inside before writing it to anything. If you're picking up a DE10-Nano
yourself: find your board's printed hardware revision, but go looking for your actual bootable image
in the AngstromImage folder rather than the shiny recently-updated System CD zips, and
know that if you eventually want something newer than a 2017 build, the linux_BSP
tooling and community Yocto projects are where that path starts. It's a small distinction, but it's
exactly the kind of thing that turns a confusing "why won't this boot" session into a non-issue.