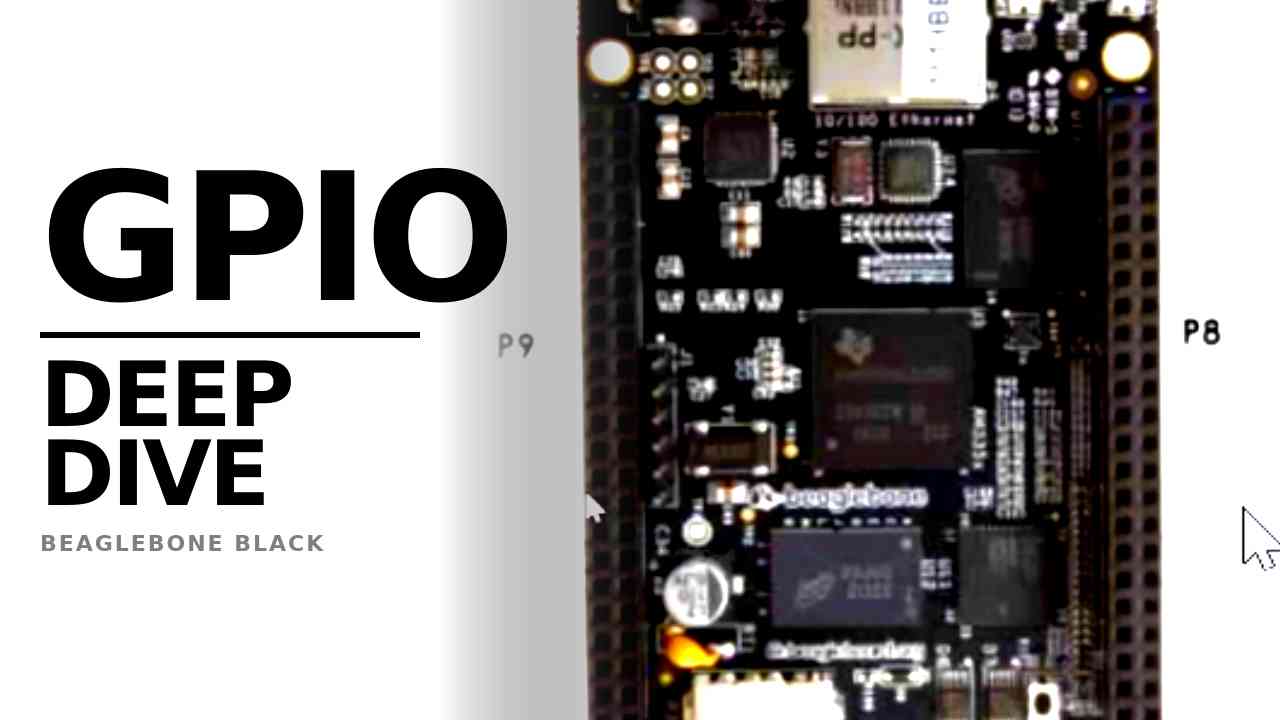
Why I Started Using This Tool
I kept hitting the same wall with embedded Linux boards: I could blink an LED with a GPIO library in about five minutes, but the moment something didn't behave — a pin stuck low, an input that wouldn't read — I had no idea why. Libraries hide the register-level truth. I wanted to stop treating GPIO as a black box and actually see what the hardware was doing: which pin mux mode was active, what the raw register value meant, and how the kernel actually represents that pin. That's what pushed me to dig into the BeagleBone Black's AM3358 GPIO system directly.
What It Does
Think of every pin on the BeagleBone Black as a multi-tool. It's not just "GPIO" — depending on how you configure it, the same physical pin can act as UART, I2C, PWM, SPI, or plain digital I/O. The AM3358 processor handles this through pin muxing, and Linux exposes the low-level state of all of it through debugfs if you know where to look.
- Pin muxing — every pin can serve up to 8 different functions, selected by writing a mode value into a control register. Understanding this is the difference between guessing and knowing why a pin isn't behaving as GPIO.
- Register decoding — tools like
gpioinfoare useful, but reading the raw pinmux register (e.g.0x27→ binary100111) tells you the actual mode, whether the input buffer is active, and whether a pull-up/pull-down is enabled — all in one hex value. - Command-line GPIO access — using
gpioget/gpioinfoinstead of a wrapper library means you're reading and controlling pins the same way the kernel does, which saves debugging time when something doesn't match your library's assumptions.
Quick Reference: GPIO Commands
| Purpose | Command |
|---|---|
| List all GPIO chips and their base offsets | cat /sys/kernel/debug/gpio |
| List pin info for a specific chip | gpioinfo --chip gpiochip1 |
| Browse available pin control groups | ls /sys/kernel/debug/pinctrl/ |
| Dump pin/register values for a pinmux group | cat /sys/kernel/debug/pinctrl/44e10800.pinmux-pinctrl-single/pins |
| Read a pin's live value | gpioget --chip gpiochip1 28 |
Example decode: Pin 20 → 44e10850 00000027 → 0x27 = binary 100111
- Bits [2:0] =
111→ Mode 7 (GPIO) - Bit 5 (rxactive) = 1 → input buffer enabled
- Bits 3/4 → pulldown enabled
My Honest Pros & Cons
✅ What I Love
- Nothing is hidden — debugfs gives you the real register values, not an abstraction
- Once you understand pin muxing, debugging "phantom" GPIO issues becomes fast instead of guesswork
- The tools are already on the board (no extra install), so you can start inspecting immediately
❌ What Could Be Better
- Debugfs paths (like
44e10800.pinmux-pinctrl-single) are board/kernel-version specific, so commands aren't fully portable across setups - Decoding hex register values by hand has a learning curve — it's easy to misread a bit and draw the wrong conclusion
Pricing: Is It Worth It?
There's no software cost here — everything used (debugfs, gpioinfo,
gpioget) is built into a standard embedded Linux setup on the BeagleBone Black.
The only "cost" is time spent learning to read the registers.
My take: Free, and worth every minute — this is the difference between using GPIO and understanding it.
Final Verdict
If you're comfortable toggling a pin with a library call and just want it to work, you don't
need this. But if you're debugging real hardware behavior, working close to the metal, or
just want to actually understand what's happening under your embedded Linux GPIO calls, this
approach — reading /sys/kernel/debug/gpio, decoding pinmux registers, and using
gpioget/gpioinfo directly — is essential. Skip it only if you never
plan to touch hardware-level debugging.